Are you ready for another DIY tutorial using the Cricut Explore? Great ‘coz I’m ready too and this week I’ve been making DIY notebooks and journals using the Cricut Explore. But before I show you how, you might want to catch up with my other How-Tos with the Cricut Explore this month so check out my Journaling cards and the Stamps tutorials for more DIY fun.
Let’s get started shall we?
[There are some affiliate links in this blog post, so if you buy through them I do get a small amount of money at no extra cost to yourself. Thanks for your support!]
You Will Need:
Cricut Design Space
Cricut Explore mat
Cricut Explore basic tools
Paper and thin cardstock
Needle / coloured thread
Paper piercer
Glue
1. Open up the Cricut Design Space software and start a new project. Insert a square with rounded corners, I’ve used #M46C02 and ungrouped the layers then made the bottom layer visible and deleted it. Resize the square to make your notebook cover, I want a 5 inch x 7 inch notebook so I made the square 10 inch x 7 inch. Use the numbers in the box when you pull the corner to help you size the shape or use the ‘Size’ option in the ‘Edit’ window.
2. There is a rather handy free score line if you search for #M48E16, I found it using the keyword ‘line’ in the search box. Insert the score line and resize it to fit the height of your notebook. Now here is the tricky bit. There are no centering or alignment tools in Cricut Design Space (or at least I’ve not found them) so you need to do a bit of jiggery pokery (official crafting term) to get the fold line in the centre of the notebook cover.
The easiest way I found was to move the notebook cover shape so that it is up against the ruler on the left-hand side then select the score line and move it left or right, as needed, with your mouse. As you move it a box will tell you where the line is on the workspace so use this to place the line exactly halfway on your notebook cover, so for my case when the X coordinate hits 5 inch. Alternatively use the ‘Position’ option in the ‘Edit’ window and change the X coordinate directly.
If there is an easier method please do let me know!
3. My next step is a lazy step and you can skip this one if you like and go straight to step 4. For my lazy step I decided I wanted the machine to ‘tell’ me where to place my holes to bind my book, so I inserted another score line, turned it 90 degrees and decreased its size until it was just a long dot. I then copied and pasted it and placed both notches along my centre score line in the positions that I wanted to stab my holes. You might need to use the zoom to help you do all this.
These little notches become very hard to see so once you have them in place group them together to make them easier to move around.
4. Now that you have your cover, how about some inside papers for your notebook? For your basic inner pages copy and paste the cover page then resize the copy to be slightly smaller than the cover, I went for 9.81 inch x 6.81 inch. You are going to need to re-size and re-centre your score line, just do what you did for the cover, but take into account the change in size.
Tip – if you used the notches trick from Step 3 to help you with the placing of your holes when you come to bind the book then make sure the cover notches are grouped together then copy and paste them. Place them so that the top one is the same distance from the top of the page as the bottom one is from the bottom of the page, but make sure you don’t resize them. This means that the holes in the inside pages will be in the same position as they are on the cover even though the cover is bigger than the internal pages. I hope that makes sense.
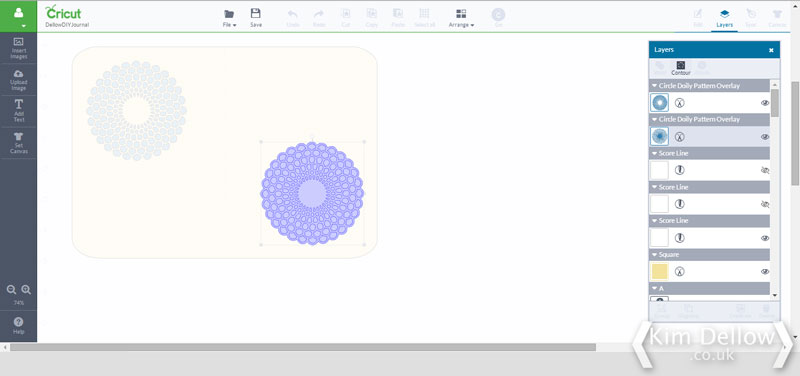
You can now add some cut-out shapes to your internal pages to make them even more funky! Insert an image or two and use the ‘Contour’ button in the ‘Layers’ Window to remove any lines you don’t want to cut by clicking on them to ‘turn them off’, then click ‘Contour’ again and select the image and the page layer and ‘Weld’ them together by clicking the ‘Weld’ option in the ‘Layers’ window or use ‘Weld’ in the right mouse button drop down list.
Troubleshooting – if you press the ‘Go’ button but the ‘Mat Preview’ window doesn’t load properly and just hangs. You might also spot an orange message appearing underneath it saying ‘Global Flex Error’ (nicely hidden, so you might have to move the window down to see it). Try going back to your project workspace and making any hidden layers that you don’t want visible, ungroup them and delete them.
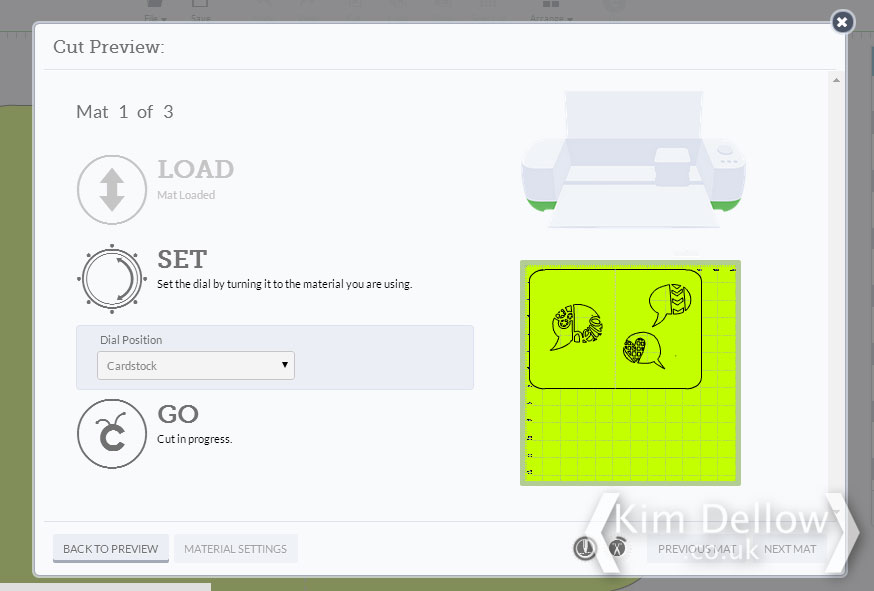
5. To cut out and score your notebook pages and covers don’t forget to select your cover or page shape, the centre score line and any notches you have made and attach them together before pressing ‘Go’ then follow the instructions to cut and score. Remember also to put your score tool into clamp ‘A’ on the machine!
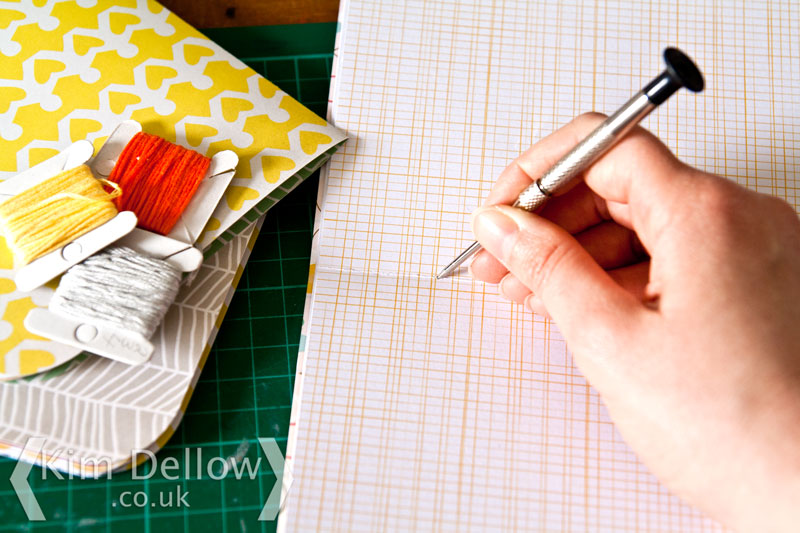
6. Once you have cut your cover and pages fold them and place them inside one another, then line up the internal pages with the cover page and punch a hole where the notches indicated, or if you didn’t use the notches trick use a ruler to help place the holes.
Tip – If you are using a thicker paper or card you might need to punch the holes individually on a couple of pages at a time and then put them together and align the holes.
7. Use a needle and thread to thread through the holes and then tie a slip knot. Tighten the slip knot as much as you can and then tie the two ends together with a permanent knot. Trim the threads as needed, I kept mine quite long. I also tied my knots on the outside of the books as I like the look, but you can always tie them on the inside of your book to hide them.
Now all you need to do is decorate the cover and start using them!
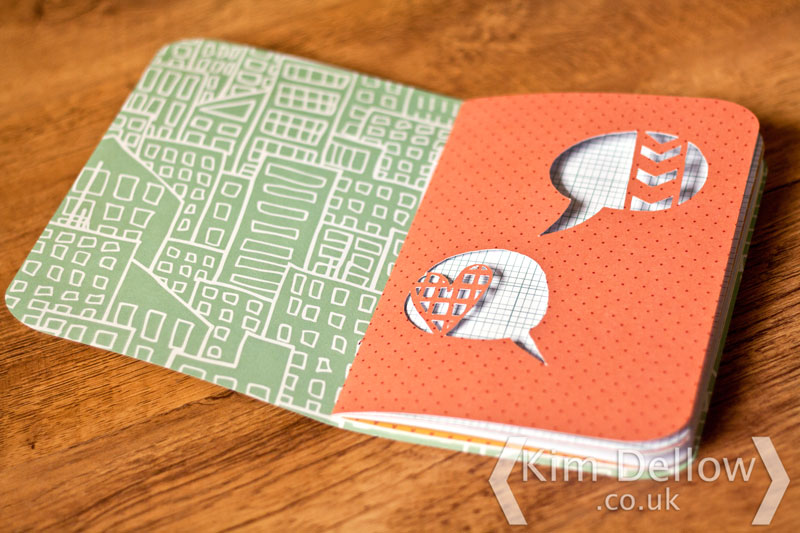
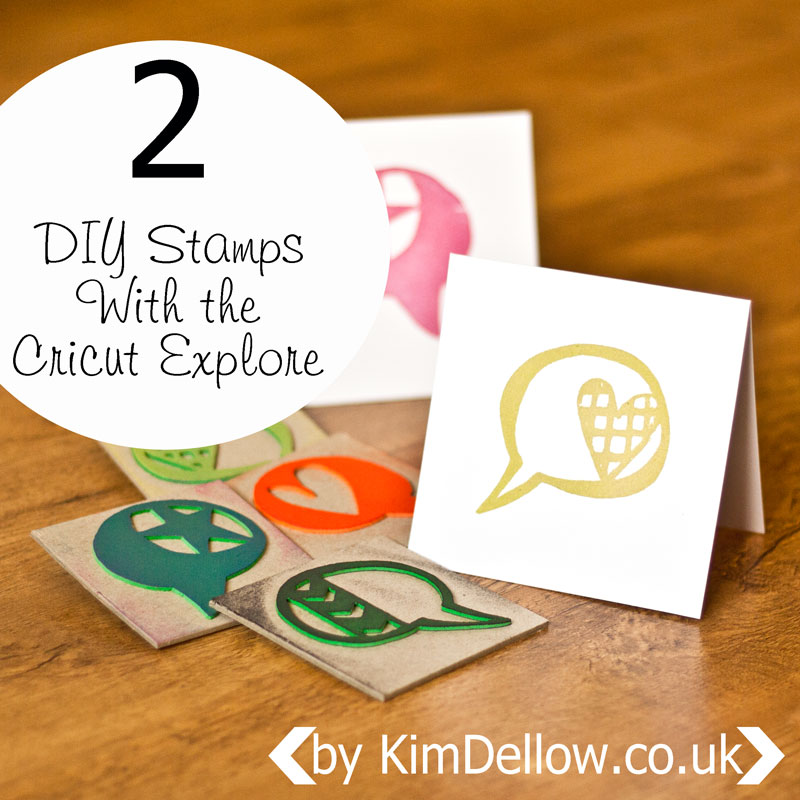
Do you recognise these cut-outs? They are die-cut files I made from my doodles and I show you how in my DIY Stamp making tutorial.
Regular readers of my blog will know that I am a bit of a notebook and journal fanatic, so these are a great addition to my ever growing collection! Now I just need to decide what to put in them! What about you? What use would you like to make a notebook for?
Kim
Like this? You might also like:







These are gorgeous Kim. I have a bit of a notebook habit too!
Thanks Katy! They are just so addictive, it is that thrill of a brand new notebook that does it isn't it?
very cute
Thanks Julie 🙂
These are adorable Kim – not sure which I want more: one of your notebooks or a Cricut Explore! Jo x
Thanks Dotty Jo. It has to be the Cricut Explore LOL!
Lovely notebooks, Kim! I still have the notebook/art journal you sent me and I still have not been able to bring myself to use it – it's way too gorgeous for me to ruin it! I take it out on regular intervals with firm intention to use it but I always put it away to safe keeping, away from my mess 🙂
Ahh thanks Milla. You should so use it, that's what it is there for 🙂 You need to give yourself permission to use it 😉
Hi Kim!
Thanks for the inspiration!
I was wondering if you could also let the cricut cut out the holes so you don’t have to punch them afterwards..?
Enjoy crafting!
Thanks Sanne, I am sure you probably could. The Cricut I have I probably would have gone for small slits rather than holes, as the holes it cuts would not be small enough for me. I don’t know how small the newer Cricuts can cut.